Making canned food from a variety of fruits and vegetables for the winter on their own is becoming more and more popular. And the reason lies not only in the fact that you get the opportunity to make dishes according to proven and very tasty recipes, but also in the fact that you can be sure of the safety of its ingredients, especially if they have been carefully grown with your own hands.
But for both an experienced housewife and a beginner, the process of sterilizing cans or ready-made dishes, which is sometimes necessary for canning, appears as a real nightmare. Just imagine that in the heat you have to fill the kitchen with hot water vapor - and you no longer want to do anything. But fortunately, in recent years, many tools have appeared to facilitate cooking. And one of them seems to be deliberately invented in order to make the sterilization process easy and enjoyable. But, indeed, sterilization of cans in the airfryer is so simple and easy that having seen or tried to carry out this process once, you are unlikely to use any other sterilization method in the future.
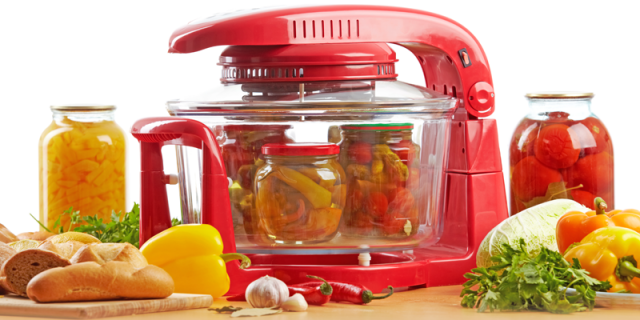
What is an airfryer
The real name of this device is a convection oven and it was invented not at all for sterilization, but for preparing various dishes using streams of hot air. But this kitchen appliance turned out to be very versatile in its purpose, since both baked fish and chicken or shish kebab with a crispy crust are excellently obtained in it. And you can also cook soups and compotes in it, stew, bake, and also make various preparations for the winter. It is precisely on its last function that we need to dwell in more detail.
After all, the airfryer makes it possible not only to sterilize empty cans for canning, which in itself is not bad, but also to make blanks right in the cans, while sterilizing the products. Moreover, the quality of sterilization is even higher than with conventional methods. This is achieved by increasing the heating temperature: it can be varied from 150 ° C to 260 ° C. This article is devoted to how to sterilize cans and various ready-made meals in an airfryer.
Sterilization of empty cans
If you recently purchased an airfryer and are not yet mentally ready to completely trust it in preparing blanks for the winter, then you can start with the simplest process - sterilizing empty cans for further canning.
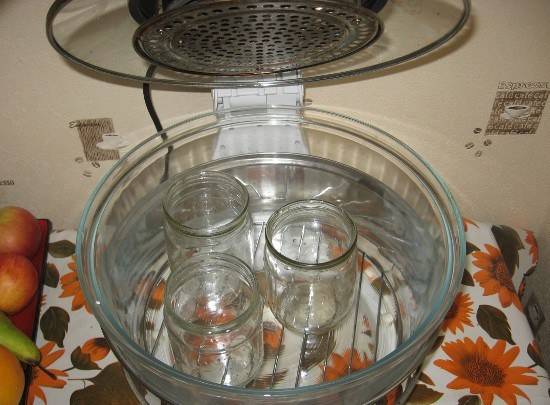
This process with the help of an airfryer is very quick and easy. First, as usual, the jars are prepared: the undamaged ones are selected, washed and rinsed well.
The lowest grate is placed in the bowl of the airfryer, and as many cans are installed on it as can fit, so that there is a small space between them.
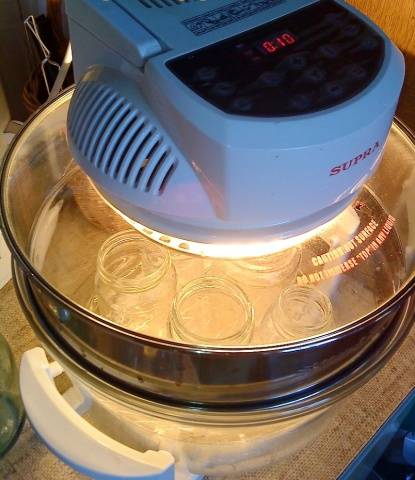
The temperature on the airfryer is set from + 120 ° C to + 180 ° C. In the Hotter airfryer, where you can also set the fan speed, it is set to average. For cans with a volume of no more than 0.75 liters, the timer is set for 8-10 minutes. Larger cans have been sterilized for 15 minutes. However, the sterilization time directly depends on the temperature. If you need to carry out the process faster, then set the temperature from + 200 ° C to + 240 ° C and sterilize any cans in no more than 10 minutes. However, in this case, it is desirable that high temperature sterilization be combined with steam sterilization.To do this, it is enough to pour a little water into each one before installing the cans in the airfryer (with a layer of about 1-2 cm).
After the timer signal sounds, you can remove the sterile jars from the bowl and use them as directed. You just need to do everything with great care, as the jars will be very hot.
But at a higher temperature, the rubber seals in the lids can deteriorate. In this case, they can either be removed and sterilized separately, or the lids themselves can be sterilized separately in any convenient way.
Airfryer blanks
So now you know how to sterilize jars in the airfryer. But the most interesting feature of this device is the sterilization of ready-made workpieces. This process is not liked by any housewife, since it is quite laborious and even dangerous, since it is associated with the manipulation of glass jars filled with hot liquid in boiling water. It is interesting that the airfryer is able to work a miracle. It can make the process of sterilizing workpieces in it completely safe and uncomplicated even for novice cooks.
If you want to sterilize ready-made dishes, then simply place the jars with them in the airfryer bowl, close the lids without rubber bands and turn on the timer for the required time at the desired temperature.
But most often, in order to save energy, they do the following. The airfryer is switched on initially at the highest temperature, and after 10 minutes it is reduced to + 120 ° С + 150 ° С. In general, the sterilization time in this case takes 15-20 minutes, even for large cans.
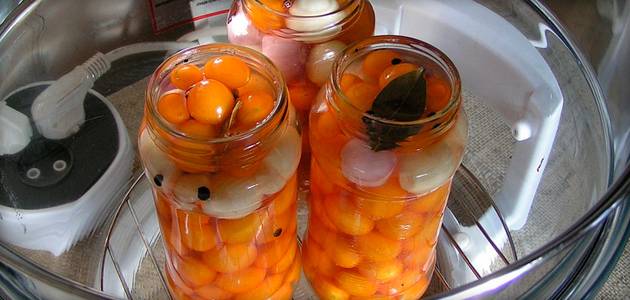
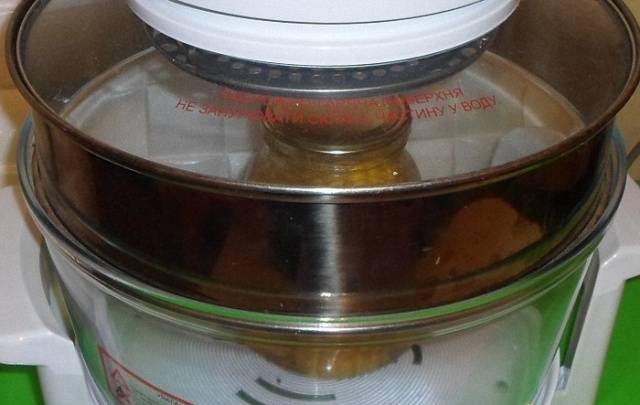
When sterilizing the workpieces, you can observe the progress of the process through transparent glass. If all goes well, you should notice bubbling bubbles in the jars.
After the sound signal of the device sounds, the cans are carefully removed and immediately tightened with sterile lids.
But the most interesting thing is that in the airfryer, you can make workpieces with sterilization practically from scratch, that is, without using additional bowls, pots and other kitchen utensils and heating elements in the form of a stove or oven.
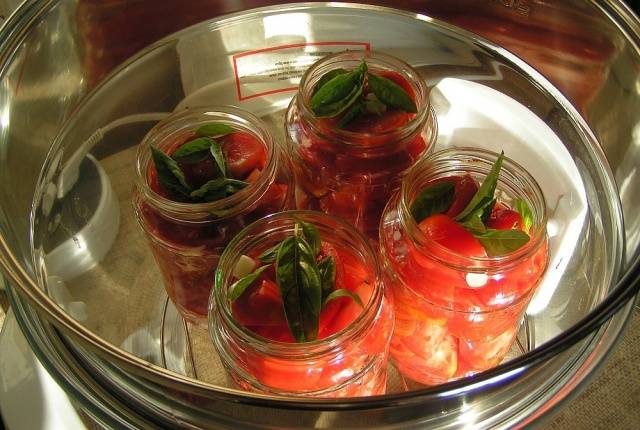
To do this, put chopped foods (vegetables, fruits or berries) into the prepared jars and place them in the bowl of the airfryer. Then the jars are filled with the necessary liquid (marinade, brine or sweet syrup) and covered with lids.
Further, the required values of temperature and cooking time are set. You just need to keep in mind that if you use recipes for an ordinary stove, then for an airfryer the cooking time can be reduced by 30%.
After the end of the operation of the airfryer, your workpieces are ready and sterilized, you just have to take them out and roll them up. It is only important not to forget to insert the sealing elastic bands sterilized elsewhere into the lids.
As you can see, there is nothing complicated in working with an airfryer, but this device is able to facilitate the process of sterilizing workpieces for the winter several times.


