Content
- 1 The need to transplant hosts to another location
- 2 When can a host be transplanted
- 3 How to properly transplant the host
- 4 Caring for flowers after transplanting
- 5 Florist recommendations
- 6 Conclusion
It is recommended to transplant the host on the site to a new place every 5-6 years. First of all, this should be done in order to rejuvenate the flower and prevent its excessive thickening. In addition, dividing a bush is the most popular and easiest way to breed hosts. This procedure is not difficult, but it is important to know when and how to do it. Having familiarized yourself with the peculiarities of host transplantation, depending on the season of the year and the climatic conditions of the region, you can determine when it is best to do this on your own site. A transplant carried out in accordance with all the rules will help the plant to remain healthy for a long time and maintain a beautiful decorative appearance, actively growing and developing.
The need to transplant hosts to another location
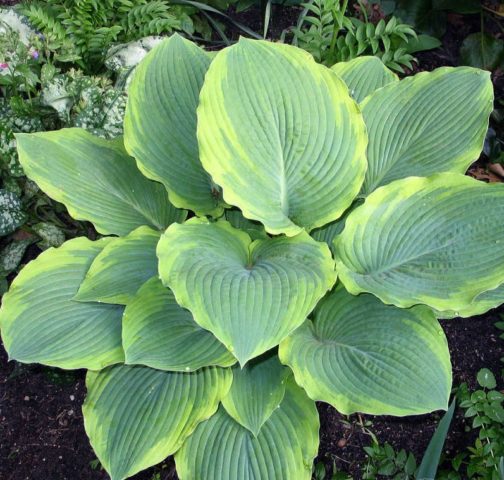
Hosta, also known as funkiya, is an ornamental herb brought to Europe from Japan in the 18th century. Today this unpretentious, frost-resistant and shade-loving perennial is commonly used in landscape design. Its large, wide leaves of various colors and shapes form lush expressive bushes that can fit into almost any composition.
In fact, the host can exist in one place for up to 15-20 years. However, it is still recommended to transplant this flower from time to time.

The hosta bush can live in one place for up to 20 years, but it is advisable to replant it every 5-6 years
Why do you need to do this:
- Within 4-5 years, the host's root system has time to draw out a large amount of trace elements and nutrients from the soil. As a result, the soil becomes poorer, the growth rate slows down, the leaves become smaller and lose their shape, and the flowering becomes scarce.
- Young shoots appear on the bush every year. As a rule, by the age of 5-6 years, it grows strongly and becomes too thickened. Dividing the bush and planting parts of it helps to solve this problem.
- Sometimes you can transplant the host to another place, in fresh and fertile soil, in order to "reanimate" it. Such a measure can help save a flower that has been badly damaged by disease or exposure to harmful insects.
It is best to transplant hosts once every 4-6 years, depending on its type. This procedure can damage a flower that is too young: it will adapt to a new place for a long time, while stopping in development for a year or two. An overly old plant has very massive and overgrown roots, which will be difficult to gently dig out of the ground during transplantation without violating their integrity.
It happens that a young hosta bush cannot get used to a new place for a long time. If its leaves turn yellow, wither and begin to fall off, the color fades, and young shoots do not appear, it would be best to transplant the plant without delay.It may well be that the site for him was unsuccessfully chosen from the very beginning.
Is it possible to transplant flowering hosts
You can transplant an adult hosta even during the period when it blooms. At the same time, having dug it out of the ground, you should immediately carefully cut the peduncles. This will give the host the opportunity to direct all the forces to take root.
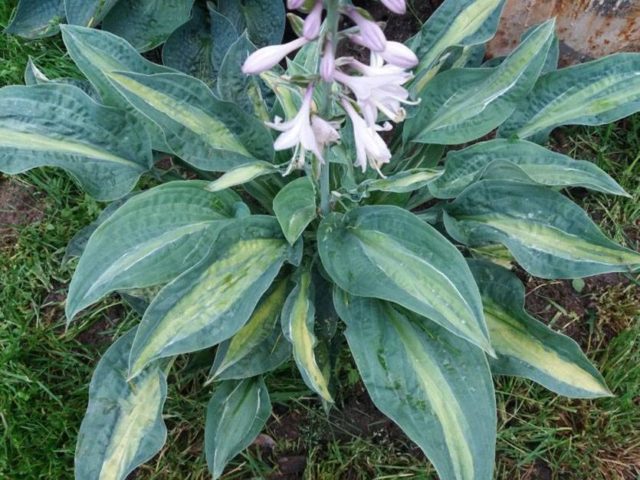
After transplanting the host during its flowering period, you should immediately cut off the peduncles
When can a host be transplanted
Hosts can be transplanted during most of the year: spring, summer and autumn. The exception is winter, when the plant is in the dormant phase, and mid-summer (July), since vegetation at this stage is most active.
When choosing the time for transplanting, you need to take into account that this procedure has its own characteristics in each season.
When is it better to transplant the host: in spring or autumn
Most gardeners find it best to transplant and divide hosts in early spring. At this time, the flower awakens and gains strength for further growth and development.
However, there are also exceptions. For example, the hosts of Siebold or Tokudama, as well as hybrids of these species, should be transplanted only in the autumn. The fact is that the root system of these flowers does not grow in spring, it begins to develop only after the leaves unfold.
Another caveat: you should not risk performing an autumn transplant of too weakened plants. In this case, it is best to carefully dig out the rhizomes of the bushes (without foliage) before the onset of cold weather and place them in a plastic bag. Inside, add a little soil mixed with wet sawdust. You need to store the rhizomes in a cellar or in a refrigerator at a temperature of + 3 to + 5 ° C, and then, with the arrival of spring, transplant them to an open area.
Siebold's host can only be replanted in autumn
When to replant hosts in spring
The best time to transplant the host in the spring is the end of April and the beginning of May.
The benefits of this season:
- The plant has just completed a dormant period, an active process of sap flow begins in all its parts. This contributes to the faster and more successful rooting of the hosta compared to the autumn transplant.
- Closer to the beginning of the specified period, return frosts on the soil finally come to naught, heavy rains stop. It will be easier for young roots to take root after transplanting in a new place under favorable weather conditions.
- By the beginning of the summer period, the flower increases the mass of young roots and is just beginning to form new leaves. If you manage to transplant before this time, it is less likely that, trying to successfully root in a new place, it will lose its decorative appearance.
The end of April and the beginning of May are considered the best time for hosta transplantation.
Is it possible to transplant the host in the summer
Can be transplanted to the host in the summer, if there is such a need. This plant is considered unpretentious and, with the correct organization of the change in the place of growth, usually tolerates this procedure well.
It is important to remember that the host should be watered abundantly before the summer transplant.
The bush will need to be carefully dug up along with a lump of earth on the roots. If it is too large, it is advisable that two people perform this action.
When transplanting in the summer, it is recommended to leave only part of the leaves on the hosta seedling. This will allow the plant to evaporate moisture more slowly and will be able to direct more energy towards growing roots.
A whole bush should be transplanted to another place along with a lump of earth.
When to transplant the host in the fall, in what month
As for the autumn transfer of hosts to a new place, it is best to carry it out at the end of August or the very beginning of September. During this period, the flowering of the plant ends, and it begins to prepare for the entry into a dormant phase.
Features of the autumn transplant:
- When choosing the time for it, you need to take into account that in order to take root, the host takes about 30-40 days on average.
- If frosts come before the plant (and above all its root system) has time to adapt to the coming cold weather, then it will not survive them, even while under cover.
Based on this, in warm southern regions with a mild climate, hosta can be transplanted in autumn even at the beginning of October. But if a sharp cold snap comes before the flower can acclimatize, it will die.
When is it better to transplant a host in different regions
When choosing a season for transplanting hosts on your site, you must take into account its territorial location. The recommended timing largely depends on the climate and weather conditions in a particular region.
When to transplant a host in the Moscow region and the middle lane
Spring in the harsh continental climate characteristic of central Russia is characterized by a prolonged period of return frosts. That is why host transplantation in this area, including the Volga and Moscow regions, is best done in autumn.
In addition, until mid-October, the root circle must be mulched with sawdust, bark or dry leaves. If severe frosts are not expected, additional cover for the host is not required.
When to transplant a host in the Urals and Siberia
In the Siberian area and in the Urals, winters are especially harsh and are famous for long frosts, as well as a lot of snow. It is recommended to transplant hosts in these regions in the spring, but not earlier than the end of May, in this case it will have time to grow and get stronger before the next cold weather.
When planning a spring hosta transplant, you can prepare the soil in advance on the site in the fall
How to properly transplant the host
Having decided what time of year it is better to transplant the host to another place, you need to prepare to perform this procedure correctly. It is unlikely that it will seem difficult to the gardener, but knowing some important details will certainly come in handy.
Site selection and soil preparation
The place where the host is to grow must be chosen taking into account the preferences of the flower:
- the site should be located in the shade or partial shade;
- ideal for it to be illuminated by the sun in the morning;
- it is advisable to choose a place protected from drafts and bright sunlight in the middle of the day - next to shrubs, conifers, near hedges, sheds or buildings;
- for hosts, the north side of the garden or the lowland near the reservoir is suitable;
- the soil should be light, moist, well-drained and breathable - ideal if it is humus loam;
- it is necessary that the acidity of the soil is neutral.
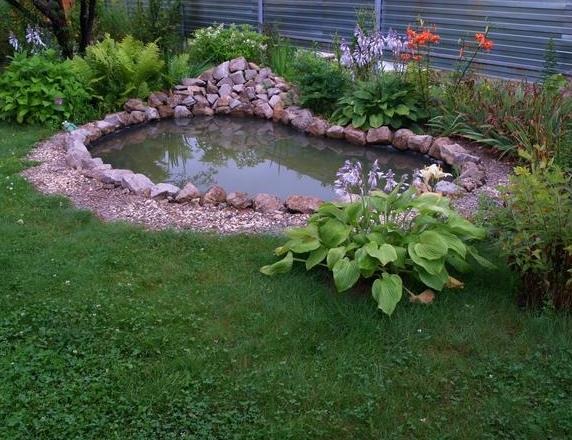
Hosta grows well on light loamy soil in the shade of shrubs or trees by the reservoir
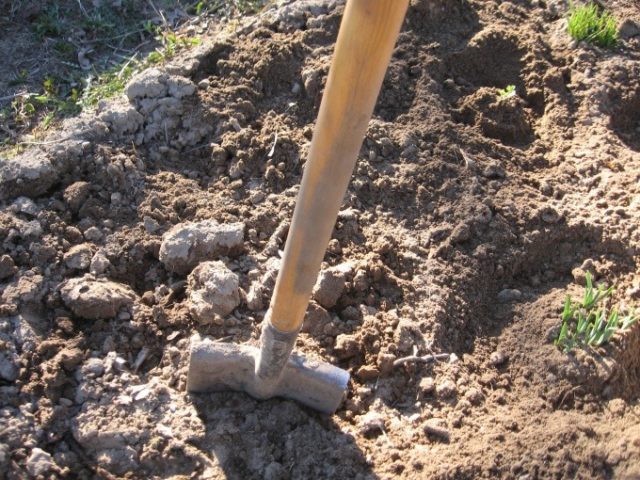
Immediately before transplanting, the soil should be dug to the depth of the shovel bayonet. If rhizomes of weeds are found in it, they must be carefully selected and removed.
Further measures depend on the type and composition of the soil:
- if the soil is heavy, then in the process of digging river sand is poured into it;
- sandy soil, on the contrary, needs to be enriched with peat and humus;
- minerals and ash are added to soils poor in nutrients.
In the prepared area, a hole should be dug about 40 * 40 * 50 cm in size.A few hours before the flower is transplanted, it is well watered. At the same time, you can add several crystals of potassium permanganate to the water.
If you plan to plant several bushes nearby, it is important to take into account the size of adult plants when preparing the holes:
- between the flowers of large varieties, it is required to leave a distance of about 1 m;
- for medium-sized bushes, a half-meter distance is enough;
- small and dwarf hosta varieties can be separated by about 20-30 cm.
How to dig and prepare the host
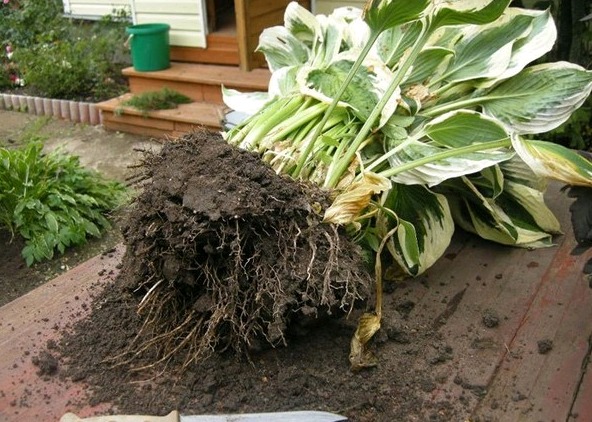
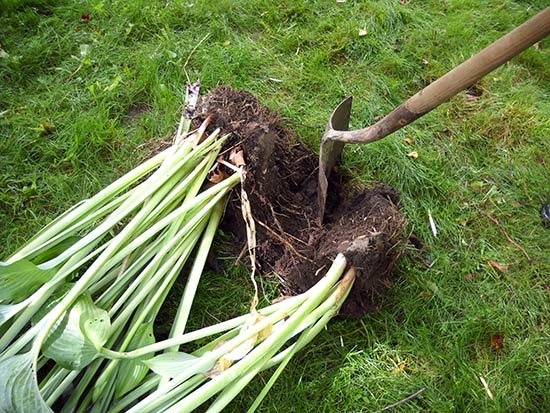
The bush intended for transplanting should be dug out entirely, along with an earthen lump. To do this, it is convenient to carefully dig in the ground around the perimeter of the plant, and then remove it from the ground, prying it under the roots with a garden pitchfork. If the plant is too large, you may need the help of another person.
If the bush is not supposed to be divided, it is transferred to the selected area and planted in a prepared hole.
In the case when the transplant is carried out by dividing the mother plant, a few more steps will be required from the gardener:
- gently clean the roots from the ground, rinse them;
- if slugs or larvae are found, they should be removed;
- cut off dried, rotten or damaged areas;
- shorten too long roots with pruning shears in order to rejuvenate;
- if there is a need to disinfect the rhizome, you can hold it for about 10 minutes in a weak solution of potassium permanganate, and then dry it in the air for a couple of hours;
- carefully divide the bush into 3-4 seedlings, cutting the rhizome with a sharp sterile knife (each section should have 1-2 rosettes of leaves);
- sprinkle the cuts with wood ash, treat with brilliant green or fungicide.
Each part of a divided bush should have one or more rosettes of leaves.
How to transplant a host in the spring to another place
After all the preparatory work has been completed, you can start transferring hosts from one place to another.
This procedure is carried out in several stages:
- A layer of drainage (fine gravel, pebbles, broken brick) is laid at the bottom of the planting hole.
- A layer of humus is poured over it.
- Place the seedling vertically in the hole, making sure that the root collar is at ground level.
- The roots are covered with soil and carefully tamped down so that there are no "air pockets" left at the bottom.
- After transplanting, the flower is watered.
- The soil under the plant is mulched with a layer of humus or dry peat.
Transfer hosts in the fall to another place
You can transplant the host in the fall according to the same rules as in the spring. Only two points differ:
- Fertilizer should not be applied to the planting hole. In spring, the flower grows actively, and therefore needs additional nutrition. When planting in the fall, the host is not fed.
- After transplanting, during this period, all leaves are cut off from the bush, leaving only petioles no higher than 10-15 cm. This will allow the plant to retain nutrients, accumulating them in the rhizome.
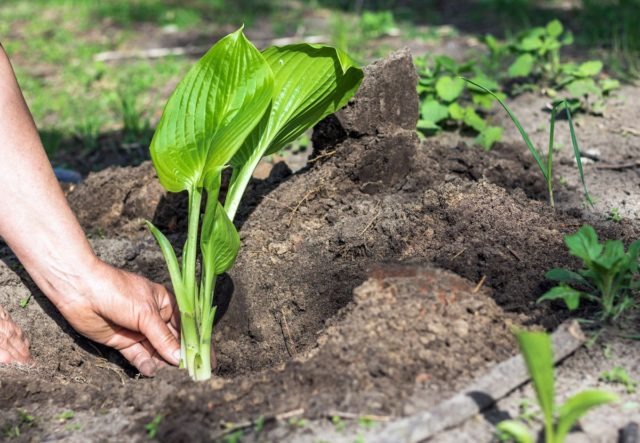
The root collar of the hosta seedling should be located at ground level
How to transplant a hosta after breeding
The host is propagated in three main ways:
- rooting cuttings;
- dividing an adult bush;
- seeds.
In each case, transplanting young plants into the ground has its own characteristics.
When grafting, it is not required to dig out the mother bush from the ground. The shoot is carefully separated from it along with a piece of root ("heel"). The cutting leaves are cut in half so that they evaporate less moisture. After that, it is planted in a hole prepared in a greenhouse, in a container with a transparent lid, or directly into the ground, covered with a "cap" from a plastic bottle. At first, the cutting is very weak, it needs abundant watering, spraying and protection from sunlight. Rooting usually takes a few days.
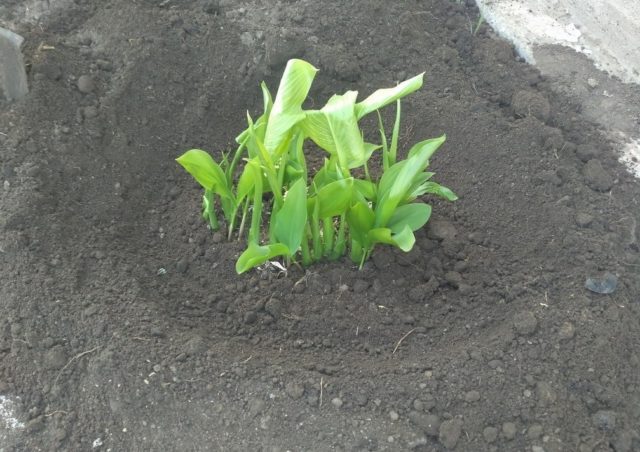
Dividing a bush is the most common method for breeding hosts. For this, adult healthy plants at least 3.5 years old are suitable. After separation, the planting material is placed in the ground at the same depth at which the mother bush grew before. After replanting the divided host in the garden, it is generously watered and mulched.
Growing hosts from seeds is a very time-consuming process.Freshly harvested material is germinated "before winter", indoors at a temperature of + 20 ° C, having arranged a "greenhouse" in a container. After the seeds germinate after 2-3 weeks, young hosts are gradually hardened, and after the appearance of the first pair of leaves, the plant dives into separate pots. As a rule, growers then proceed as follows:
- during the first year, seedlings are grown as container;
- in the second year, they are planted in the ground in seedling beds;
- only at 3-4 years of age, the seedlings are moved to a permanent place.
Caring for flowers after transplanting
Basic rules for caring for hosts after transplanting:
- The plant should be watered regularly and abundantly, preventing the soil from drying out. It is best to do this in the evening.
- If the transplant was carried out in spring or summer, the host needs to shade from the bright sun for the first time.
- During the season, it is necessary to feed the host three times, alternating organic fertilizers with mineral fertilizers. They should be introduced in the spring (at the beginning of the active growth phase), at the flowering stage and after its completion.
- The soil under the bushes needs to be loosened or mulched from time to time. The latter is preferable, as it allows the soil to stay wet longer.
- As measures to combat leaf-eating slugs, shell rock, crushed eggshells, crushed stone or small wood chips are used, scattering it under the plant.

The soil under the bushes of the host of large and medium-sized varieties should be mulched
After transplanting in the fall, the host should be prepared for winter. For this you need:
- cut off old flower stalks from the bush so that the hosta does not waste energy on ripening the seeds;
- before the onset of cold weather, mulch the soil with sawdust or peat, preventing freezing of the roots;
- if severe frosts are expected, the aboveground part of the plant should be dug in a little and covered with "breathing" material (spruce branches, agrofibre).
Florist recommendations
Anyone who plans to transplant hosts on their site may find the advice of experienced florists useful. They recommend the following:
- In the place where the hosta bush has already grown, it is better not to plant a new young plant. This can negatively affect his health and survival time.
- Watering the hosta, you need to make sure that water does not get on its leaves, so the beautiful "waxy" texture of their surface will last longer.
- The soil under the bushes of undersized and dwarf varieties should not be mulched with compost or humus, otherwise the root collars of the plants may support.
- During the first 2-3 years after transplanting the hosta, its young flower shoots are best removed. This measure will help the bush to grow luxuriantly, and its leaves will keep their beautiful shape.
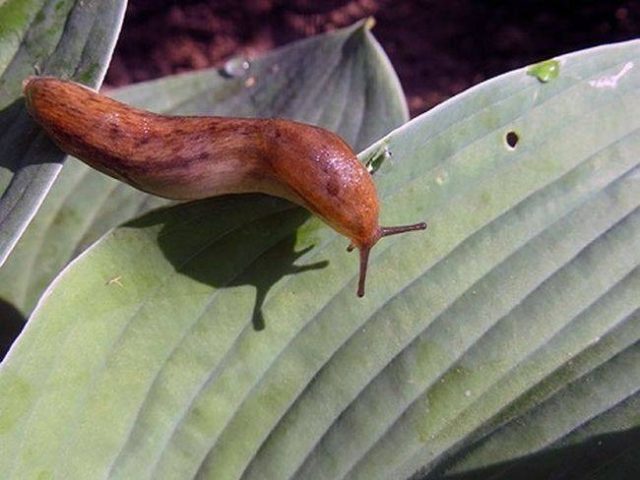
Slugs can greatly spoil the decorative appearance of the hosta, eating its leaves
Conclusion
It is not difficult to transplant the host on the site, even a beginner can handle it. The main thing is to choose the right time for this, taking into account the climate and weather in the region, and then, according to all the rules, dig up, if necessary, divide and plant the flower. Correct care of the plant after transplanting, taking into account the advice given by experienced gardeners, will help the host quickly and successfully settle down in a new place, so that, growing over the next seasons, delight the owner with lush greenery of dense beautiful foliage.


