Content
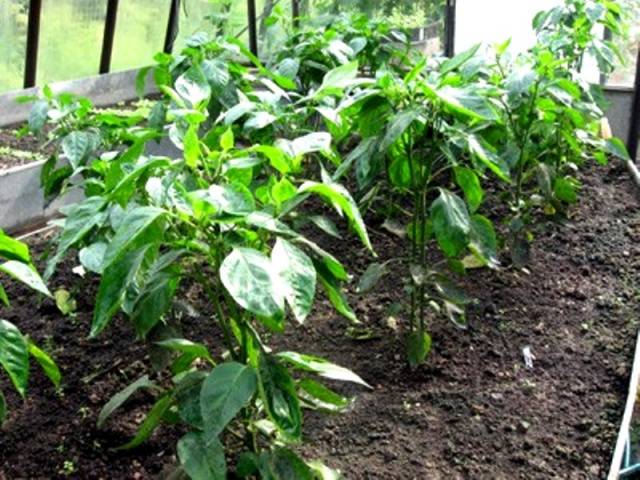
In the climatic conditions of the Moscow region, growing sweet fleshy peppers is quite a feasible task for gardeners. There is a wide selection of seeds on the market that are adapted to this region. There are a large number of varieties that will not only grow well, but also give a rich harvest. The presence of a greenhouse on a personal plot allows you to grow strong and healthy plants that will bear fruit before frost.
Benefits of growing peppers in a greenhouse
- In protected ground, the plant does not depend on weather conditions.
- An optimal microclimate is created in the soil, which has a beneficial effect on the survival rate of seedlings.
- It is easier to care for the plants in the greenhouse - the bushes are less susceptible to diseases and insect attacks.
- In a greenhouse, peppers bear fruit faster and longer.
There is only one drawback - limited space, in which there is often not enough space for growing a large number of plants. Therefore, breeders have developed special varieties of pepper for greenhouses with undersized and compact bushes. You can slightly increase the planting density and save space for other plants.
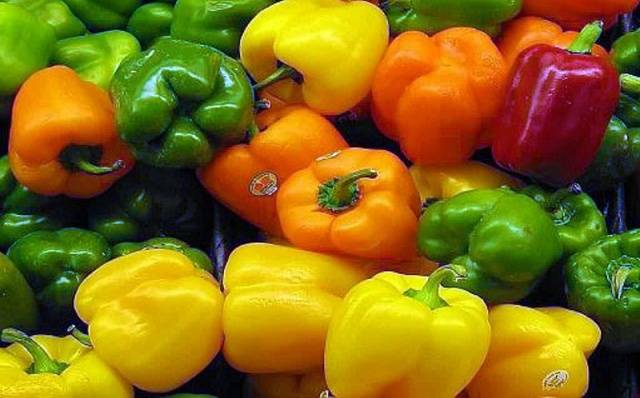
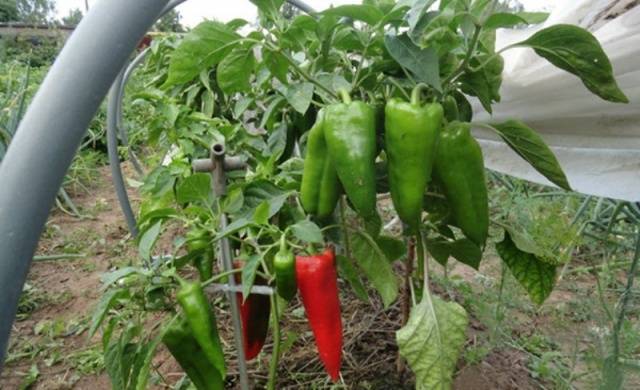
Greenhouse sweet peppers
Not every greenhouse pepper Moscow suburbs will give a good harvest. Varieties that are intended for cultivation in greenhouses tolerate a lack of sunlight and excess air humidity well.
California miracle
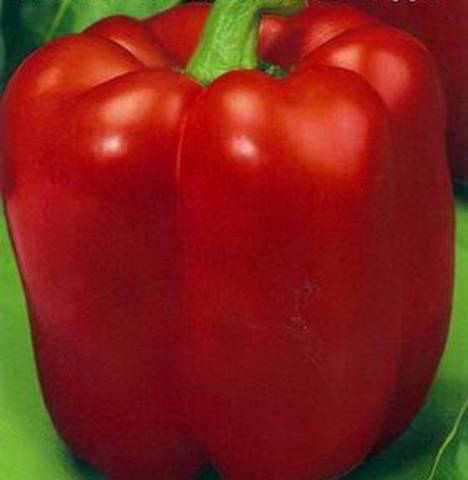
One of the most unpretentious varieties, with good germination and survival rate. This pepper variety is ideal for your first greenhouse greenhouse experience. The fruits are large, fleshy, heavy. The pepper ripens 100 days after the mass shoots appear. Up to 2 kg of fruits can be harvested from one plant per season.
Arsenal
Mid-season variety with large (up to 200 g) red fruits. Suitable for fresh consumption, well preserved and stored for a long time. The plant is unpretentious, it takes root well in the greenhouse.
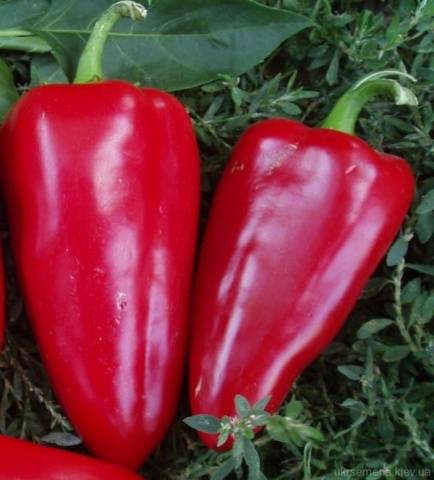
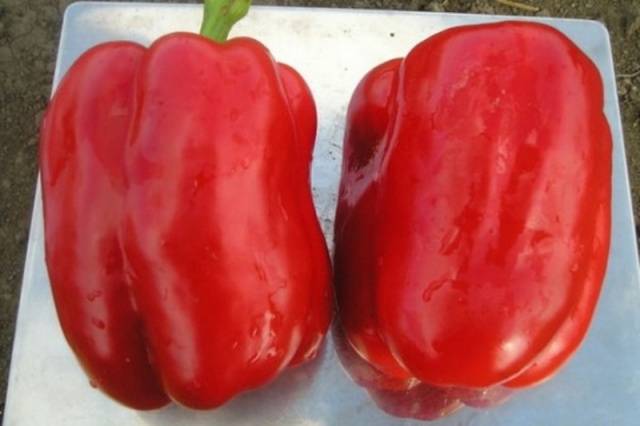
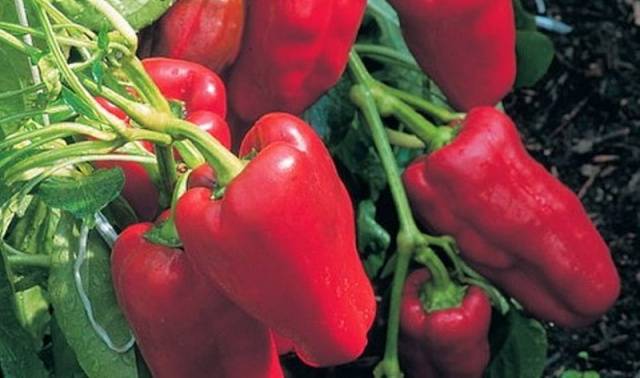
Cow's ear
A large-fruited early ripe variety that begins to bear fruit 90 days after planting seedlings in a greenhouse. Fruits are red, large, elongated with a few shallow folds. The flesh of the pepper is thick and juicy. Taste good both fresh and canned.
Hercules
A mid-season pepper variety cultivated in the Moscow region. Undemanding in care and resistant to diseases. The fruits are in the shape of an elongated tetrahedron, with a juicy and thick pulp. Good for frying and canning. Stored well. The variety bears fruit until late autumn. The plant is not tall, with few leaves.
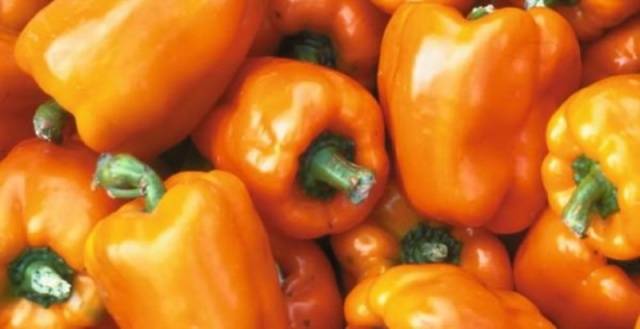
Orange king
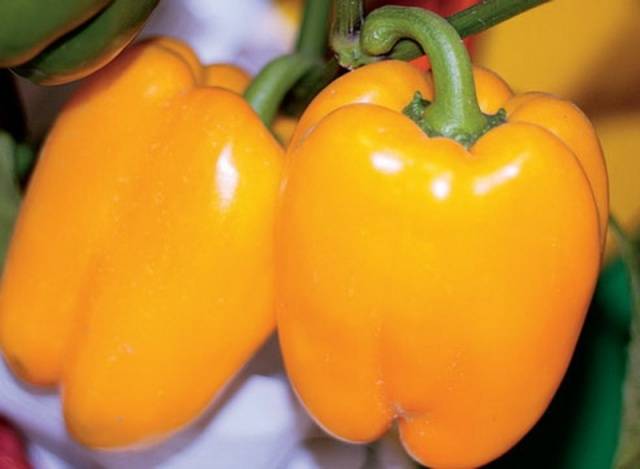
An early ripe unpretentious variety of pepper, gives a bountiful harvest in greenhouses. The recommended planting density is 5-6 bushes per 1 sq. m. Fruits are large, bright orange. They look great both in salads and in jars with homemade preparations. The plant enters fruiting in 2 and a half months after the seeds sprout.
Bagheera
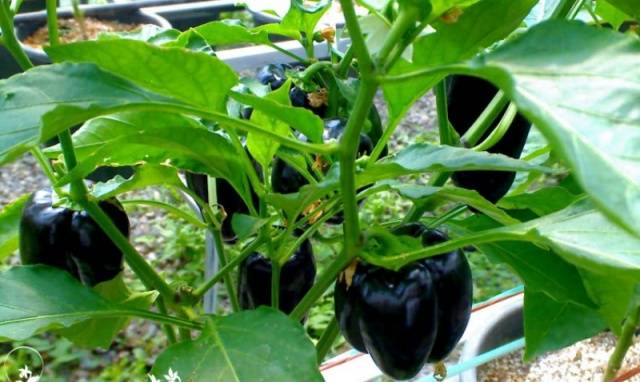
Very large fruits are blue, almost black. By the time it is fully ripe, the pepper acquires a reddish tint. In greenhouse conditions, one bush gives about 2.5 kg of fruit. Good taste - the pulp is juicy, thick, with a sweet aftertaste.The plant begins to bear fruit 100 days after transplanting the seedlings into the greenhouse soil.
Golden calf
A short plant with a pyramidal crown begins to bear fruit abundantly 3 months after the seeds are sown. The fruits are golden in color, very large - up to 400 g. The pulp is thick and juicy. Good for canning and pickling.
Pinocchio
An early ripe variety of pepper. In a greenhouse, the plant produces crops 80-90 days after germination. The bush is tall, but weakly branches. The bright red fruits can grow up to 17 cm long and 8 cm wide. The flesh of the pepper is thick, juicy and sweetish. This variety is one of the most unpretentious. Seeds sprout quickly and amicably, the plant easily takes root in a new place.
These peppers are ideal for a greenhouse in the Moscow region. All of them are compact, do not require shaping and garters.
How to grow bell peppers in a greenhouse
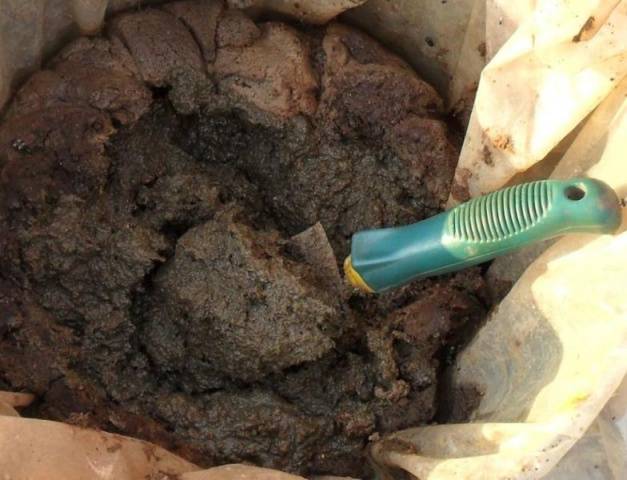
Pepper cultivation begins with soil preparation. The best soil for this plant is a mixture of clay soil with compost, potash and nitrogen fertilizers. In autumn, soil is poured onto the planting site, on which a mixture of mineral fertilizers is evenly distributed at the rate of 3-4 kg per 1 m2. The top is covered with a layer of humus mixed with dry leaves, sawdust, ash or charcoal. From above, you need to properly water and cover with foil until spring. At the same time, you can prepare a nutrient substrate for plant nutrition. Manure and turf soil are mixed in the container. Ash is poured and filled with water. This can be done in a shallow hole - before feeding the plants, the resulting mixture is simply diluted in water.
Seed preparation
Before sowing greenhouse varieties of pepper, there is no need to additionally process and harden the seeds.
The seed preparation process consists of three stages:
- Calibration;
- Disinfection;
- Germination.
Seed preparation for sowing can begin a week before the expected date of sowing seeds, that is, in mid-February.
Sizing or grading is a necessary procedure by which small and dry seeds are rejected. To do this, fill the seeds with warm water. After an hour, those seeds that remain on the surface of the water must be thrown away, and the remaining ones must be dried. The largest seeds are selected from these seeds.
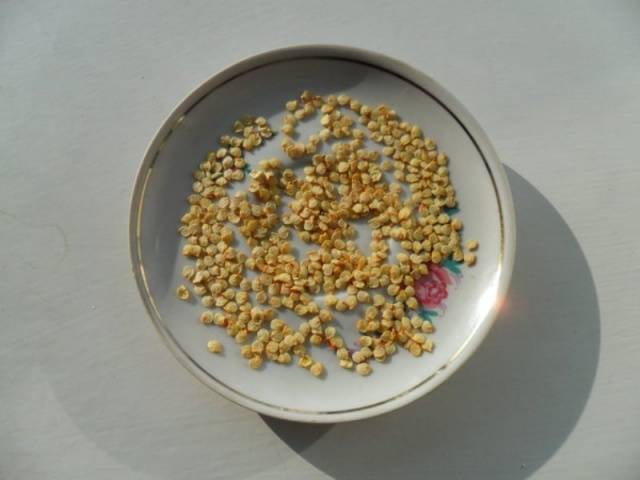
Disinfection of pepper seeds is carried out by soaking them in potassium permanganate. The solution should be dark. The seeds are placed in a shallow saucer and poured over with the solution. After three hours, they are washed with clean water and dried. Potassium permanganate not only removes the top shell of the seeds from the fungus, but also stimulates germination.
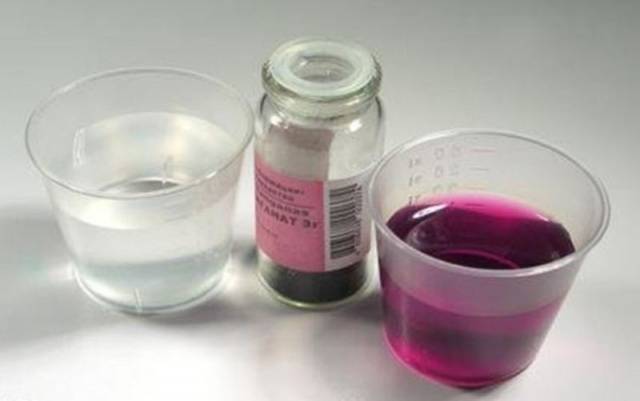
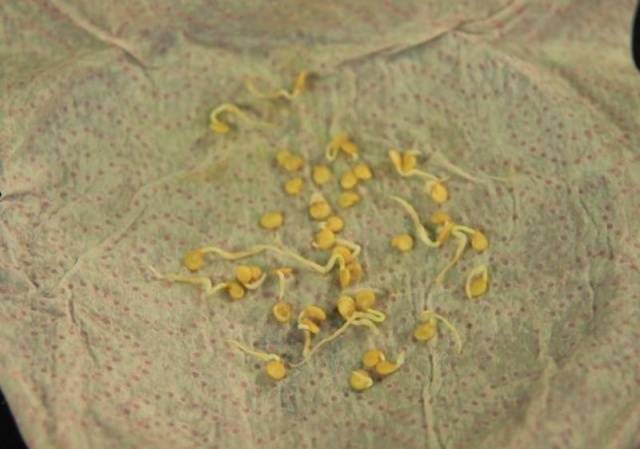
Germinating seeds before sowing will help plants germinate faster. A damp cotton cloth or cheesecloth folded in several layers is placed in a plate. Seeds are laid out on it and covered with the same cloth. The saucer with seeds is placed in a warm and lighted place. It is necessary to follow that To keep the fabric moist at all times.
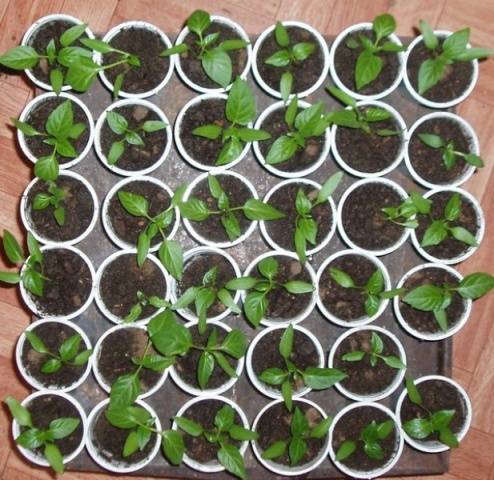
Sowing seeds
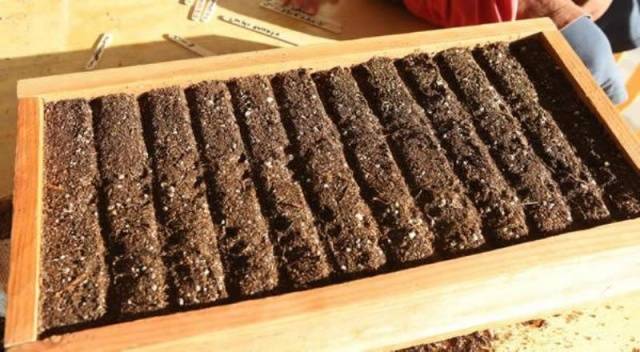
After 3-4 days, as soon as the pepper seeds swell enough and roots appear on them, you can start sowing. Since seedlings in the future will need divethen the seeds can be sown in a long narrow box. The height of the sides should not exceed 20 cm.
Sawdust and a little sand are added to the soil for indoor plants. It is recommended to bake the prepared soil in the oven - this will help get rid of bacteria and harmful microorganisms. The box is filled with moist soil to a depth of 15-16 cm. Shallow (up to 1.5 cm) grooves are made with a knife or finger. The seeds are neatly laid out at a distance of 1-2 cm from each other and covered with earth. From above you need to pour water with a watering can or a spray bottle.The seedling box is covered with dark opaque plastic and placed in a warm place.
In order for seedlings to appear, the first few days, the seeds of the pepper do not need light. The soil has a sufficient level of moisture due to natural condensation.
The film is removed as soon as more seeds emerge. The pepper sprouts now need an additional light source. To do this, you can put the box on the windowsill or hang a fluorescent lamp over it.
Picking
The root system of greenhouse peppers is more sensitive to replanting than other nightshade crops. A pick will provide more space for seedlings and roots to grow. This procedure is carried out 15-20 days after germination. During this time, 2-3 leaves will form, and the seedlings become cramped in the box. It is not recommended to wait longer, since the roots of the plants are intertwined, which makes it difficult to transplant seedlings.
Mineral fertilizers (ammonium nitrate, superphosphate, potassium chloride) are added to the disinfected soil for pepper seedlings at the rate of 1 kg of mixture per 1 cubic meter. m of soil.
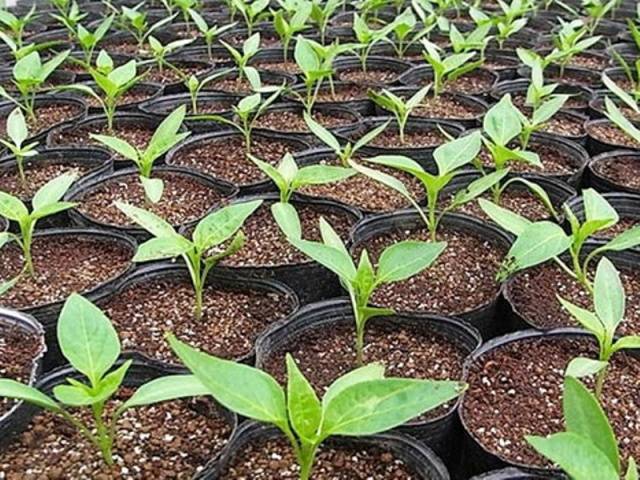
The soil mixture is laid out in small pots or glasses on a drainage layer of fine gravel. The volume of a separate container should not exceed 200 g. At the picking stage, the root system is superficial and compact. A large amount of soil can turn sour, and this will lead to diseases. The cups should have holes for water outflow.
Two days before the pick, the seedlings need to be watered so that the sprouts can be easily removed from the box without injuring the plant roots.
Pepper seedling picking technology
- In the container, you need to compact the soil, make a hole for the plant in the center and pour water into it;
- Using a spoon, carefully remove the pepper sapling from the box. The healthiest and strongest sprouts are selected;
- The seedling is placed in the hole so that the roots are freely located in it. If the lateral roots have not formed, then it is necessary to pinch the central root. In this case, you need to maintain the same planting depth as before the pick. Otherwise, stem rot may occur;
- The well is carefully sprinkled with earth and watered;
- A glass with a pepper seedling is placed in a common container.
The first days after picking, the plants should be left in the same place where it was sown. Then the adaptation process for the pepper will be quick and painless. After 10 days, the seedlings need to be fed with the mixture that was prepared in the fall in the greenhouse. Before and after feeding, pepper sprouts should be watered abundantly with water. You can make fertilizing with mineral fertilizers or growth stimulants. In 10 liters of water, 1 g of potassium permanganate, 2 g of copper sulfate and 1-2 g of boric acid are diluted. The solution should stand for at least a day, after which the sprouts can be watered.
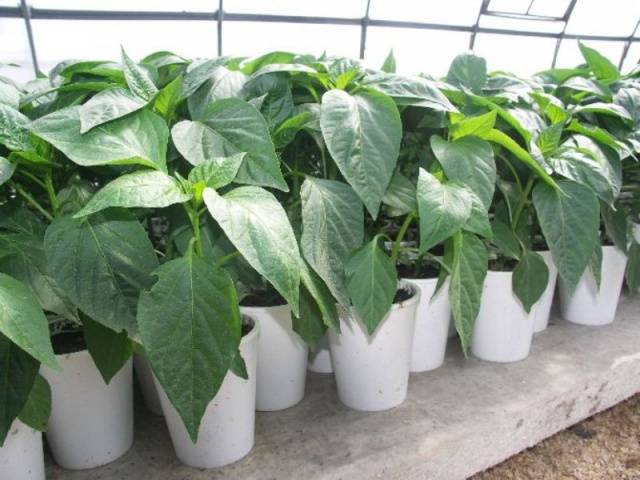
Transplanting seedlings into a greenhouse
5-7 days after picking, pepper seedlings must be prepared for greenhouse conditions. In the daytime, a box with plants is taken out to the greenhouse. During this time, the sprouts will get stronger, 10-12 leaves will form, new buds will appear in the sinuses, and you can start transplanting.
From the site intended for planting pepper, remove the film and dig up the ground. It is necessary to make a bed 50-55 cm wide and water it with a fertilizing mixture three days before planting the seedlings. To prevent soil from shedding from the edges of the garden, you can make wooden bumpers. This eliminates the need for hilling plants in the greenhouse and makes it easier to care for the crop. Such a bed will keep its shape well, and will provide an even distribution of water when watering the plants.
Plant transplants are best done in the evening, at night. In the morning on the day of disembarkation, the seedlings are watered abundantly.
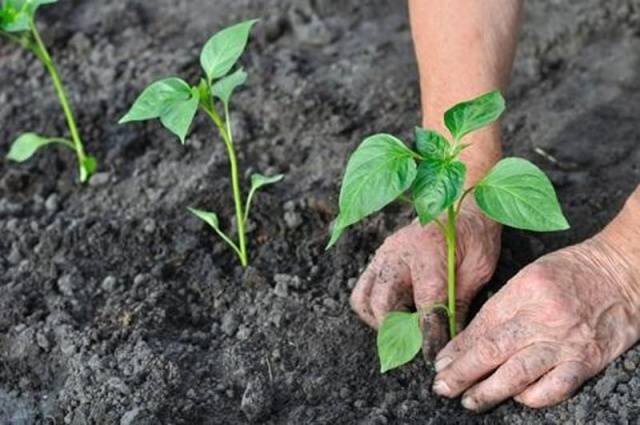
The technology of planting seedlings in the garden
- A hole is made in the garden with a hoe.Its depth should correspond to the height of the seedling pot.
- Pour water into the hole.
- The seedling is carefully removed along with a clod of earth, then moved into a depression in the garden bed and sprinkled with earth.
- The soil around the sprout must be compacted and watered.
Greenhouse peppers tolerate lack of sunlight. But excessive shading can cause the plant to wither. Therefore, it is better not to plant tall or climbing crops next to the pepper in the greenhouse. When choosing "neighbors" for bell peppers, keep in mind that their height should be lower. Greens or root vegetables can be planted in the immediate vicinity of the pepper bed.
Watering pepper in a greenhouse
The first 10 days in the greenhouse, pepper seedlings are watered under the root. During this time, they will take root well and new leaves will appear. Now you can feed the plants.
On the 10th day after the pepper transplant, the ground around the stem is gently loosened and the fertilizing solution is poured. This procedure is repeated as soon as the plant blooms.

Caring for plants during fruiting
The stem of the bell pepper is strong and firm, and the fruit is light so it does not need to be tied up. For a good harvest, it is recommended to remove the first ovary that forms in the lower part of the plant. Since the pepper bush is not yet ripe enough for fruiting, the first fruit of the pepper is a parasite that will draw strength from it. For the same reason, it is necessary to timely get rid of excess shoots that form before the first fork of the plant.
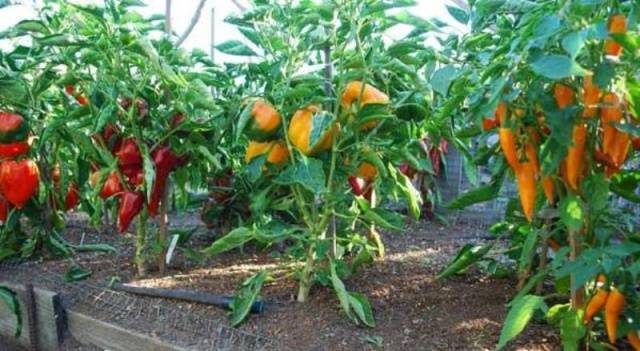
As soon as 4-5 fruits are formed on the bush, feeding can be skipped. The pepper has entered the fruiting stage and all it needs at this stage is moisture and warmth.
With a lack of moisture in the soil, brown spots appear on the fruits, which will lead to the development of gray rot. Therefore, watering must be timely. Stagnation of water in the soil must not be allowed, for this, before each watering, the soil in the aisle must be loosened.
This video explains the basic tricks of growing peppers in a greenhouse:
By the time of abundant fruiting, stable warm weather has already established on the street, and the greenhouse can be ventilated. At this time, you need to ensure that insects do not attack the plants. Plants should be inspected regularly. When signs of pests appear in the greenhouse, it is necessary to remove all the fruits and process the pepper bushes with a soap-tobacco solution. To protect the roots, the soil around the plants is watered with ammonia, which must first be diluted with water in a 1: 1 ratio.


